By Bonnie Kirn Donahue
As I look out at my perennial garden this time of year, it looks…tired. The Rudbeckia fulgida (black-eyed Susan) is at its prime, but just about everything else has gone past. The weeds were difficult to contend with this year, even with proper mulching in the spring. Even my showstopper plants seemed to struggle.
Although disappointing, these observations remind us that perennial gardens are not static. We carefully select plants, develop planting plans and cherish each plant we purchase or start from seed, expecting the plants to behave the way the plant tag describes. While this may start out as the case, true to nature, perennials change with time.
Just about every perennial bed needs to be rehabilitated at some point. This is something that can be done all at once in the fall or spring or staged over time. I prefer early fall because I can see what the mature plants look like and will have an easier time finding new locations with this in mind.
First, take note of what you like about your garden, and what you don’t like. This is an exercise that ideally should be done throughout the growing season to get a well-rounded view of the garden’s evolving characteristics.
Notice plant heights, textures and color palettes. Think about how your garden changes as one plant blooms and another dies back throughout the seasons. Are there times when nothing is in bloom? If so, consider adding plants with different bloom times for a continuous sweep of color throughout summer and early fall.
The next step is to take these observations and imagine what you would like to see. It might help to look at books, your neighbor’s yard or photos of gardens on the Internet for inspiration. Or talk to the experts at your local garden center.
Don’t be afraid to experiment with different plants or color combinations. I am starting to embrace the idea of transitioning my perennial garden to a native, pollinator-friendly cottage garden where plants seed themselves freely and mingle together in masses.
I like to sketch out my planting plan on paper. Using graph paper can help you draw the plants to scale to come up with a more accurate layout.
Make copies of your base plan, one for April to May, June to July and another for August to September. Use colored pencils to sketch out what blooms will be present at different times of the year.
Before starting your renovation, it is a good idea to have your soil tested to determine what amendments your soil needs. The University of Vermont Agricultural and Environmental Testing Lab (pss.uvm.edu/ag_testing/) charges a nominal fee and provides instructions that make testing simple.
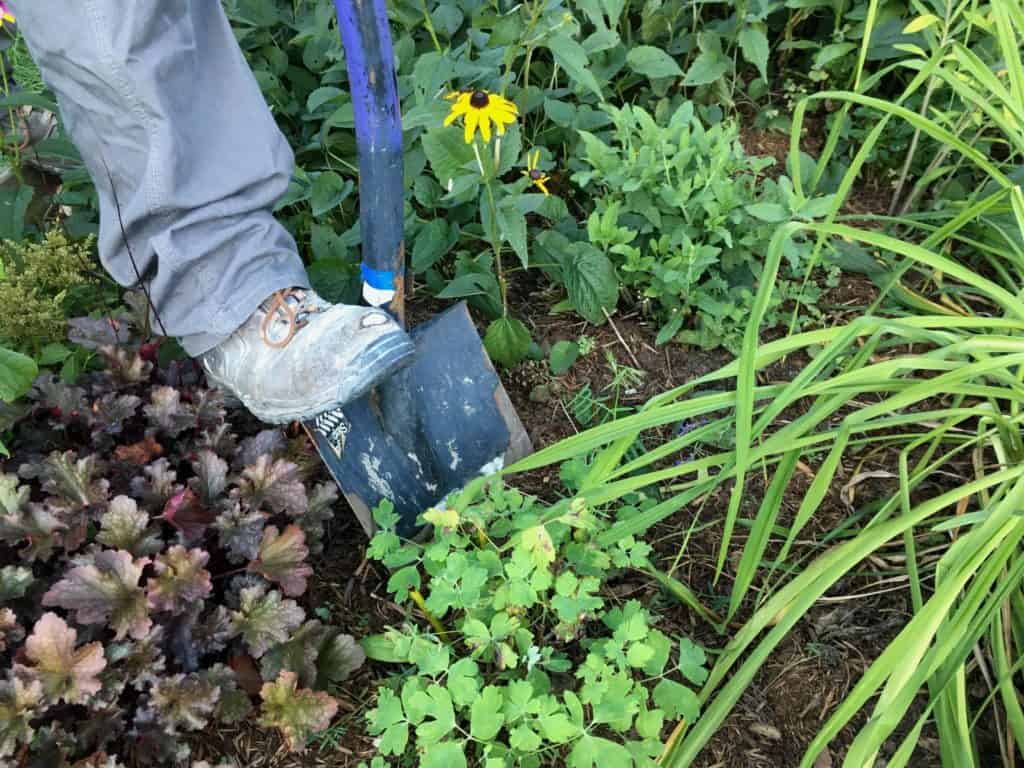
Start by weeding your garden thoroughly. Next, carefully dig out the plants and place them on a tarp in a shady spot and keep them watered. Ideally, you should wait to dig until plants are finished blooming. Check the root balls, and pull out any weeds that might be intertwined with the roots.
Using a sharp knife or spade, divide large plantings into smaller ones. Each new clump should have three to five shoots and a healthy root system.
After removing all the plants from your garden, loosen all the soil with a shovel. Mix in compost or amendments as recommended by your soil test.
Once your soil is prepped, replant the area with your transplanted perennials or add in new plants. Finish by mulching and watering. Fall planted perennials will need plenty of water to make sure their roots get established before winter.
Bonnie Kirn Donahue is a UVM Extension Master Gardener and landscape designer from central Vermont.


